Skip to main content
Opens in new window
NHS Wales
Health Boards
Trusts
NHS 111 Wales
Skip Navigation
Staff Information
Cymraeg
Cymraeg
All...
Search
Cardiff and Vale University Health Board
Cymraeg
Cymraeg
Search
Menu
Home
News
Show Submenu For News
Latest News
Saving Lives in Cardiff
Health Hero
In The Spotlight
Awards
Press Office
Requests for Filming and Photography
Our Social Media Policy
CEO Connects
Hospitals and Health Centres
Show Submenu For Hospitals and Health Centres
Our Hospitals
Health Centres
Local Health Services
About Us
Show Submenu For About Us
Public Engagement / Consultation
Our Mission & Vision
Our Health Board Structure
Our Board
Corporate Governance, Assurance and Board/Committee Meetings
Duty of Candour
Duty of Quality
Publications
Cardiff and Vale UHB: Through the Years
Jobs
Show Submenu For Jobs
Careers in the NHS
Tips for your application
A Great Place to Live and Work
Staff Bank (Temporary Staffing Department)
Medical & Dental Locum Staff Bank
Medical Observers & Clinical Attachments
Medical Resourcing & Systems
Work Experience
Volunteering for Us
Not sure which roles may be for you?
Our Services
Show Submenu For Our Services
A to Z of Health Care Services
Primary Care Services
Patient and Visitor Information
Show Submenu For Patient and Visitor Information
Reducing Time in Hospital
Getting Here and Parking
NHS 111 Wales
Students
Smoke Free UHB
Advocacy
Complaints
Infected Blood Inquiry
Electronic Prescribing (ePMA)
Out of Hours Service
Keeping Yourself Well
Outpatient Appointments
Ukraine Crisis
Cardiff and Vale Local Public Health Team
Infection Prevention and Control
Patient Experience
More
×
NHS Wales
Health Boards
Trusts
NHS 111 Wales
Staff Information
All...
Search
Listen
Home
›
News
›
Latest News
›
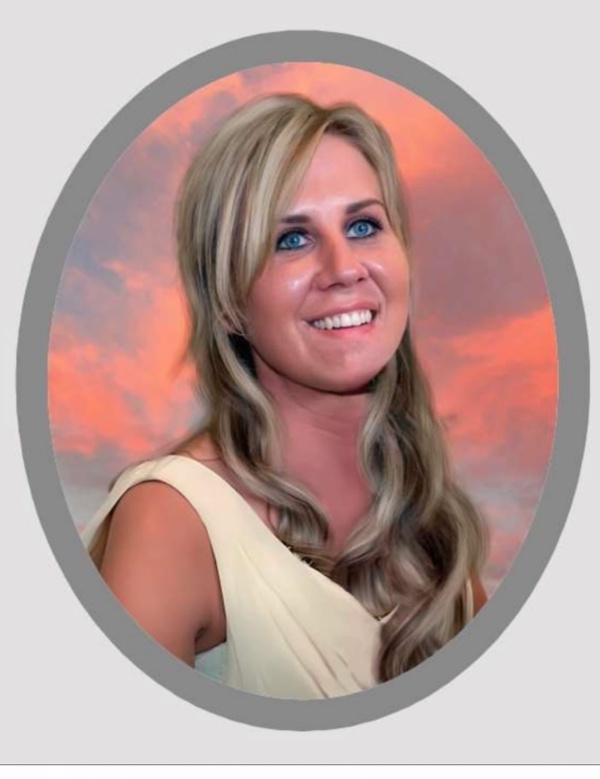
'Our beautiful daughter died of sepsis at 29 – we don't want any family to go through the same heartache'
›
Rachel #1.jpg
Rachel #1.jpg
Follow us: